This article covers the steps to creating and editing your licenses. To skip ahead:
Adding Licenses
Simplifya gives you two ways to add licenses, badges, and certifications to Simplifya. They are:
- Using the "+ Add" button from the main License Tracker page
- Bulk importing licenses from a CSV file
Adding a license from License Tracker
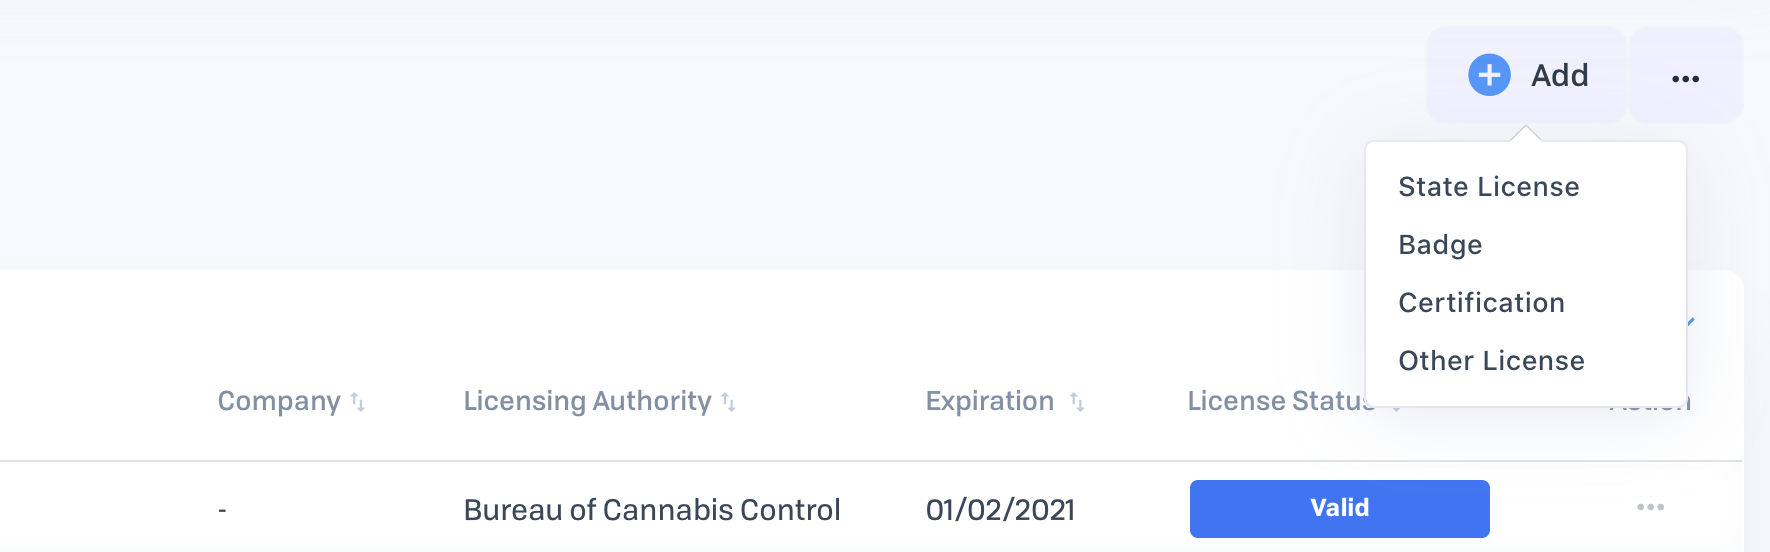
Once on the License Tracker page, click the "+ Add" to add a new type of license. After selecting your license category ("State License", "Badge", etc.), here are the fields to fill out for your new license:
- Location: The Simplifya location which the license belongs to.
- License Type: The license identifier or descriptor.
- License Number: The identifying number issued for a license, badge, or certification.
- Expiration Date: The date on which a license will expire.
- Renewal Date: The date which a license should begin being renewed. This is optional.
- The renewal date field is only present on State Licenses, and must be on or before the "Expiration Date".
- License Status: Select one of your custom statuses to a license (see: Managing Custom Statuses). This is optional.
- Licensing Authority: The governing body that has issued a license. This is optional.
- Reminders: The number of days before the "Expiration Date" to receive email reminders about this license (see: Setting Renewal Reminders). This is optional.
- Send Reminders To: The users or email addresses whom license reminders will be sent to. This is optional.
- Renewal Cost: The dollar amount associated with renewing a license, badge, or certification. This is optional.
- Company: A brand or entity who is the holder or license owner. This is optional.
- Parent Company: The parent company of the company. This is optional.
- DBA: The DBA of the company. This is optional.
- Note: Details or description about a license or license activity. This is optional.
- Add Documents: Attach any documents relevant to the license. This is optional.
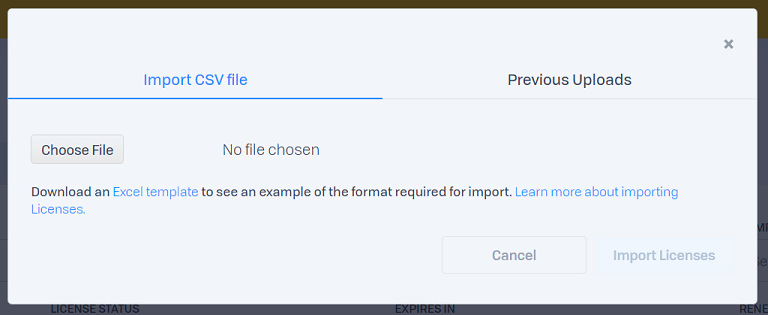
Bulk importing licenses
Once on the License Tracker page, click the ellipses (![]() ) icon at the top of the page and select "Import Licenses".
) icon at the top of the page and select "Import Licenses".
For an in-depth explanation of how to import your licenses, see: Importing Licenses into License Tracker.
Editing Licenses
![]()
Editing the license data allows you to change any of the properties around a license (like "License Number", "Renewal Reminders", etc.). To edit the data for a license:
- Click on the ellipses (
 ) icon next to a license.
 - Click "Edit".
- Update the field(s) which you'd like to change.
- Click "Update License".
Deleting Licenses
There are two ways to delete a license: On the "Edit" modal and by checking the box next to the license on the License Tracker table.
Deleting a License on the "Edit" Modal:
- Click on the ellipses () icon next to a license.
- Click "Edit".
- In the "Edit License" modal that opens, click the "Delete [Category] License" text that appears in red at the bottom of the modal.
Deleting a License from the License Tracker table:
- Check the box next to the license (or licenses) you'd like to delete. Once a box has been checked next to a license, the "Delete Selected" button on the License Tracker table will be enabled.
- Click the "Delete Selected" button.
Deleting a license cannot be reversed.
Permissions
Only Managers and Administrators on the account can add and edit licenses. The following permissions apply:
- Administrators: Can create and access all licenses at all locations.
- Managers: Can create and access all licenses at the locations they belong to.
- Employees: Employees do not have access to the License Tracker.
Comments
0 comments
Please sign in to leave a comment.